If you’re a photographer, a website is a great way to display your work, sell your images, and attract new clients. However, you might not have the budget to hire a developer or the know-how to code a site from scratch.

Fortunately, it’s easy to create a photography website using WordPress, even as a complete beginner. WordPress is free and easy to use, yet it enables you to create professional and appealing sites. All you need to do is find a quality web host, design your web pagesIn WordPress, a page is a content type that is used to create non-dynamic pages on a website. Pages are typica… More, and upload your photos.
In this postA post is a type of content in WordPress, a popular open-source content management system used for creating an… More, we’ll guide you through five simple steps to create a photography website with WordPress. Let’s get started!
Why WordPress Is the Perfect Fit for Your Photography Site
As a professional photographer, it’s important to have a dedicated website where you can display your images. This way, you can give potential customers or clients a preview of your skills. Plus, it provides an easy way for them to discover your services and get in touch.
With plenty of platforms to choose from, you might be wondering: Is WordPress good for photographers? To start, WordPress is open-source, free, and easy to use:
Better yet, this platform supports a wide variety of popular image formats, including JPG/JPEG, PNG, GIF, ICO, and WebP. If you want to use a next-gen format like AVIF instead, you’ll find image optimization plugins that enable you to do this.
You can also find plugins that extend the functionality of your website. For example, WooCommerce transforms your site into an online store, so you can easily sell your photos. Alternately, you can integrate your site with a booking plugin to schedule sessions with clients.
On top of all this, WordPress is completely customizable, so you can make your site look exactly the way you want it to:

You can choose from hundreds of free themes to match the tone and personality of your brand. Plus, with the Full Site Editor (FSE), you can modify every part of your site, including its header and footer.
How To Create a Photography Website with WordPress (In 5 Steps)
Now that you know why WordPress is the ideal choice for a photography website, let’s take a look at five simple steps to get started.
Step 1: Find a Quality Web Host
A web host (or hosting provider) stores your site’s data and files on a web server, making it publicly available to internet users. However, most hosting solutions also provide additional benefits, which vary depending on the provider and plan you choose.
With web hosting, there are many options. If you’re on a tight budget, you might want to opt for shared hosting. This is when your website shares a server with many other sites. It’s not the most secure or high-performance choice, but it keeps costs low and can be all you need for a small photography portfolio site.
If you’re planning to sell your work online, however, or if you need to showcase a lot of high-quality images, you can choose a VPS hosting plan instead. Just as with shared hosting, your site shares a physical server with many other websites.
However, it also receives a virtually-partitioned segment of that server with its own dedicated resources. This offers increased performance and security, for only a modest additional cost.
Whatever type of plan you select, it’s also a good idea to find a web host that offers WordPress-specific plans, such as Bluehost:

A WordPress hosting plan will provide you with useful features, and help you get your site up and running quickly. Plus, it means that you’ll have access to support that’s knowledgeable about the platform, in case problems arise.
Step 2: Choose a Photography Theme
Many web hosts will offer quick and easy ways to set up your new WordPress website. If not, it’s quick and simple to install WordPress manually.
Once your site is up and running, you’ll need to choose a theme. Your WordPress theme determines the look and layout of your site. It enables you to customize your site’s appearance with a single click.
There’s an entire directory of free themes to choose from. If you prefer, there are also plenty of premium themes you can purchase for a small fee, found via developer websites and marketplaces such as ThemeForest.
As a photographer, it’s important to get your theme right to create the best possible first impression. Your theme gives you a chance to show off your creative talents, and enhance your images with the right layout and color palette.
You’ll also want a theme that’s lightweight, fast, and responsive. This way, you can provide visitors with an excellent User Experience (UX). It’s important to check out user reviews to ensure that the theme you choose is high quality and well-coded.
Last but not least, you may want to opt for a photography-specific theme that offers features designed for your unique needs. For example, Shutter Up is a free WordPress themeA WordPress theme is a set of files that determine the design and layout of a website. It controls everything … More with a clean, minimal design that enables your images to take center stage:

This theme comes with many cool features such as testimonials sections, portfolio services, and a featured content slider.
Step 3: Design Your Pages
Now that you’ve chosen a theme, you’re ready to design key pages for your photography website. Most important is your Home page, since this is often where visitors will land first.
Other useful sections include About, Services, Gallery, and Contact pages:

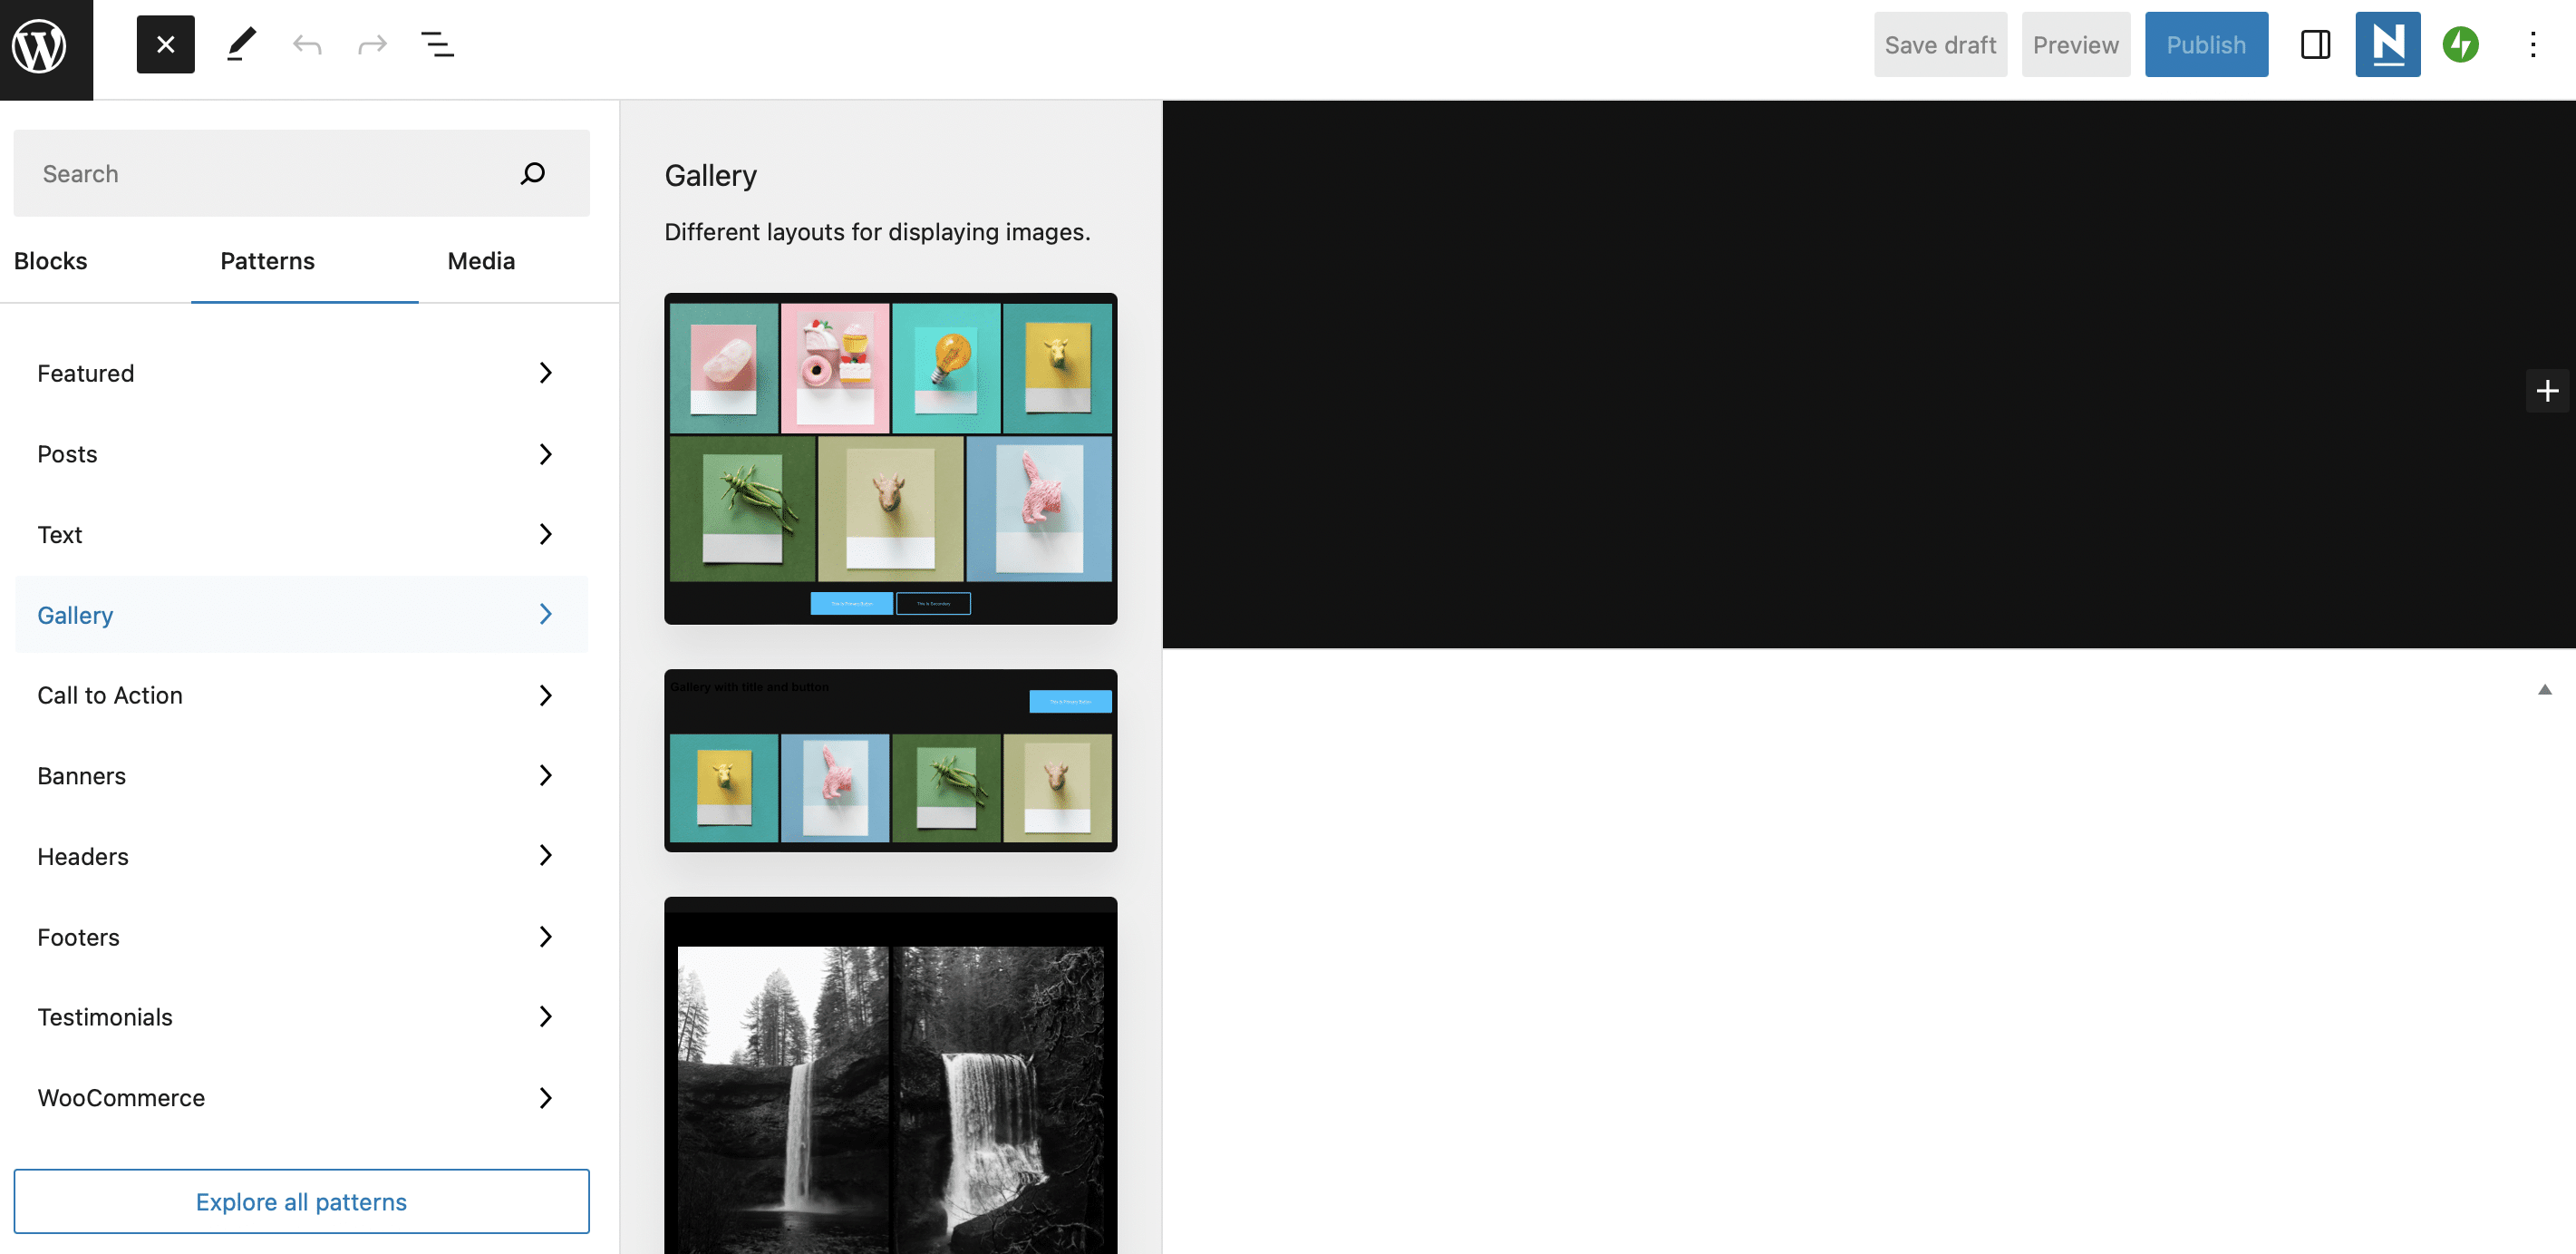
To start creating pages for your website, navigate to Pages > Add New in your WordPress dashboardIn WordPress, the Dashboard is a central hub for managing a website’s content and settings. It is the first sc… More. There, you can customize the layout of your page using pre-built pieces of content called blocks. There are blocks for text, images, forms, buttons, and more.
WordPress also gives you access to block patterns. These are pre-designed layouts that make website building quick and easy:
If you’re looking for a more powerful way to design pages, you might want to install a page builder plugin. This type of tool provides you with a similar drag-and-drop editor, along with additional widgetsA widget is a small block of content that performs a specific function and can be added to certain areas of a … More and special features like hover effects.
Step 4: Upload Your Images
Now you’re ready to upload assets to your photography website. WordPress stores images in the Media Library. So to add photos, head to Media > Library in your dashboard.
Next, select Add New and click on Select Files to upload a photograph from your computer:
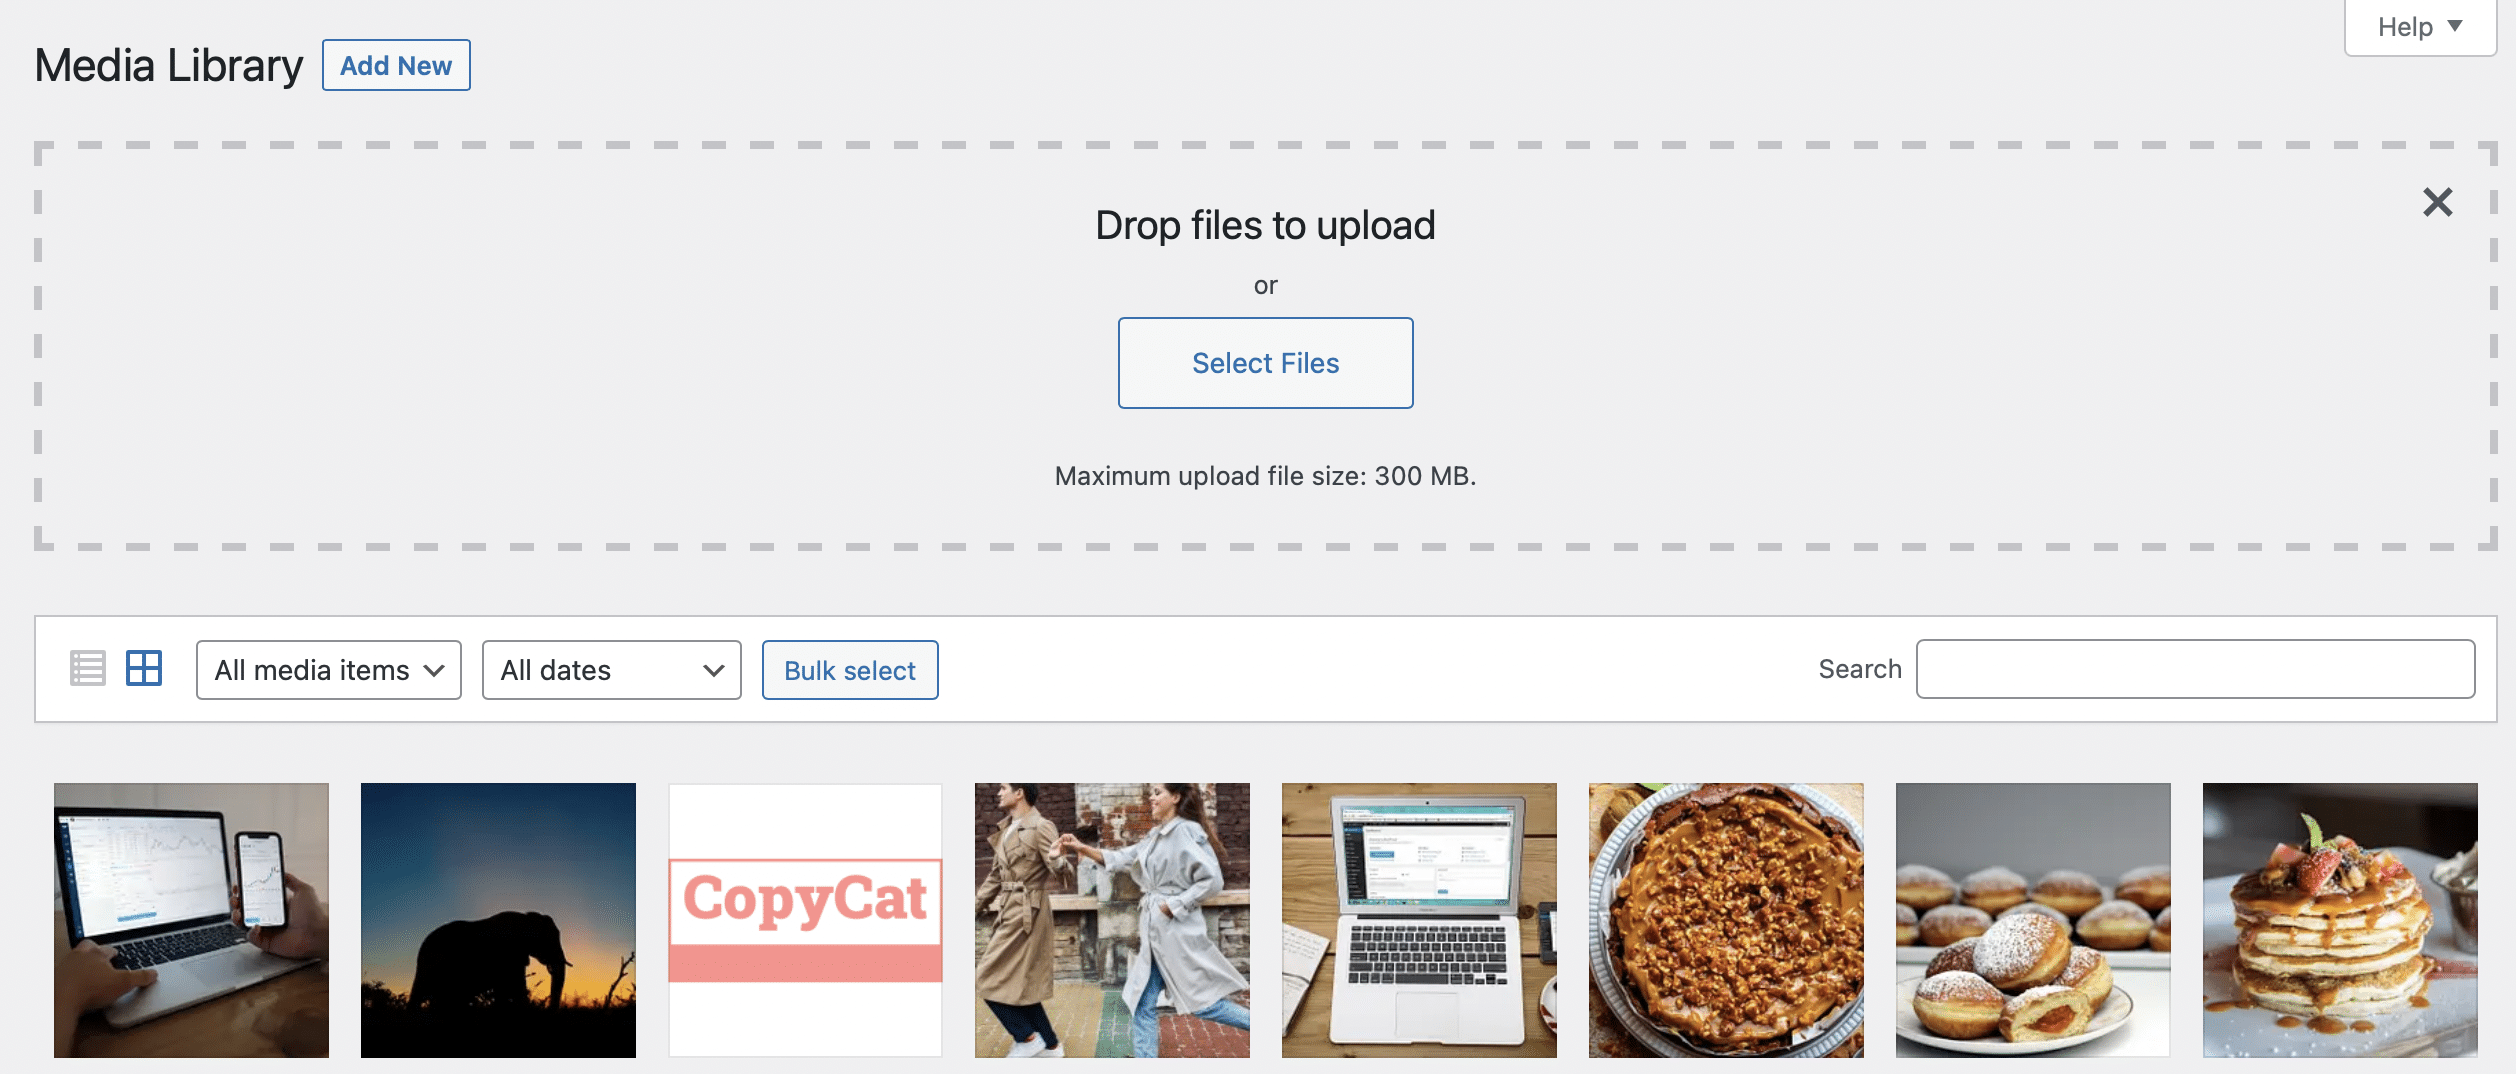
Once you’ve uploaded your image, you’ll see that it’s been added to the library. Click on the image to open it. Here, you can add a caption, description, and some alternative text:
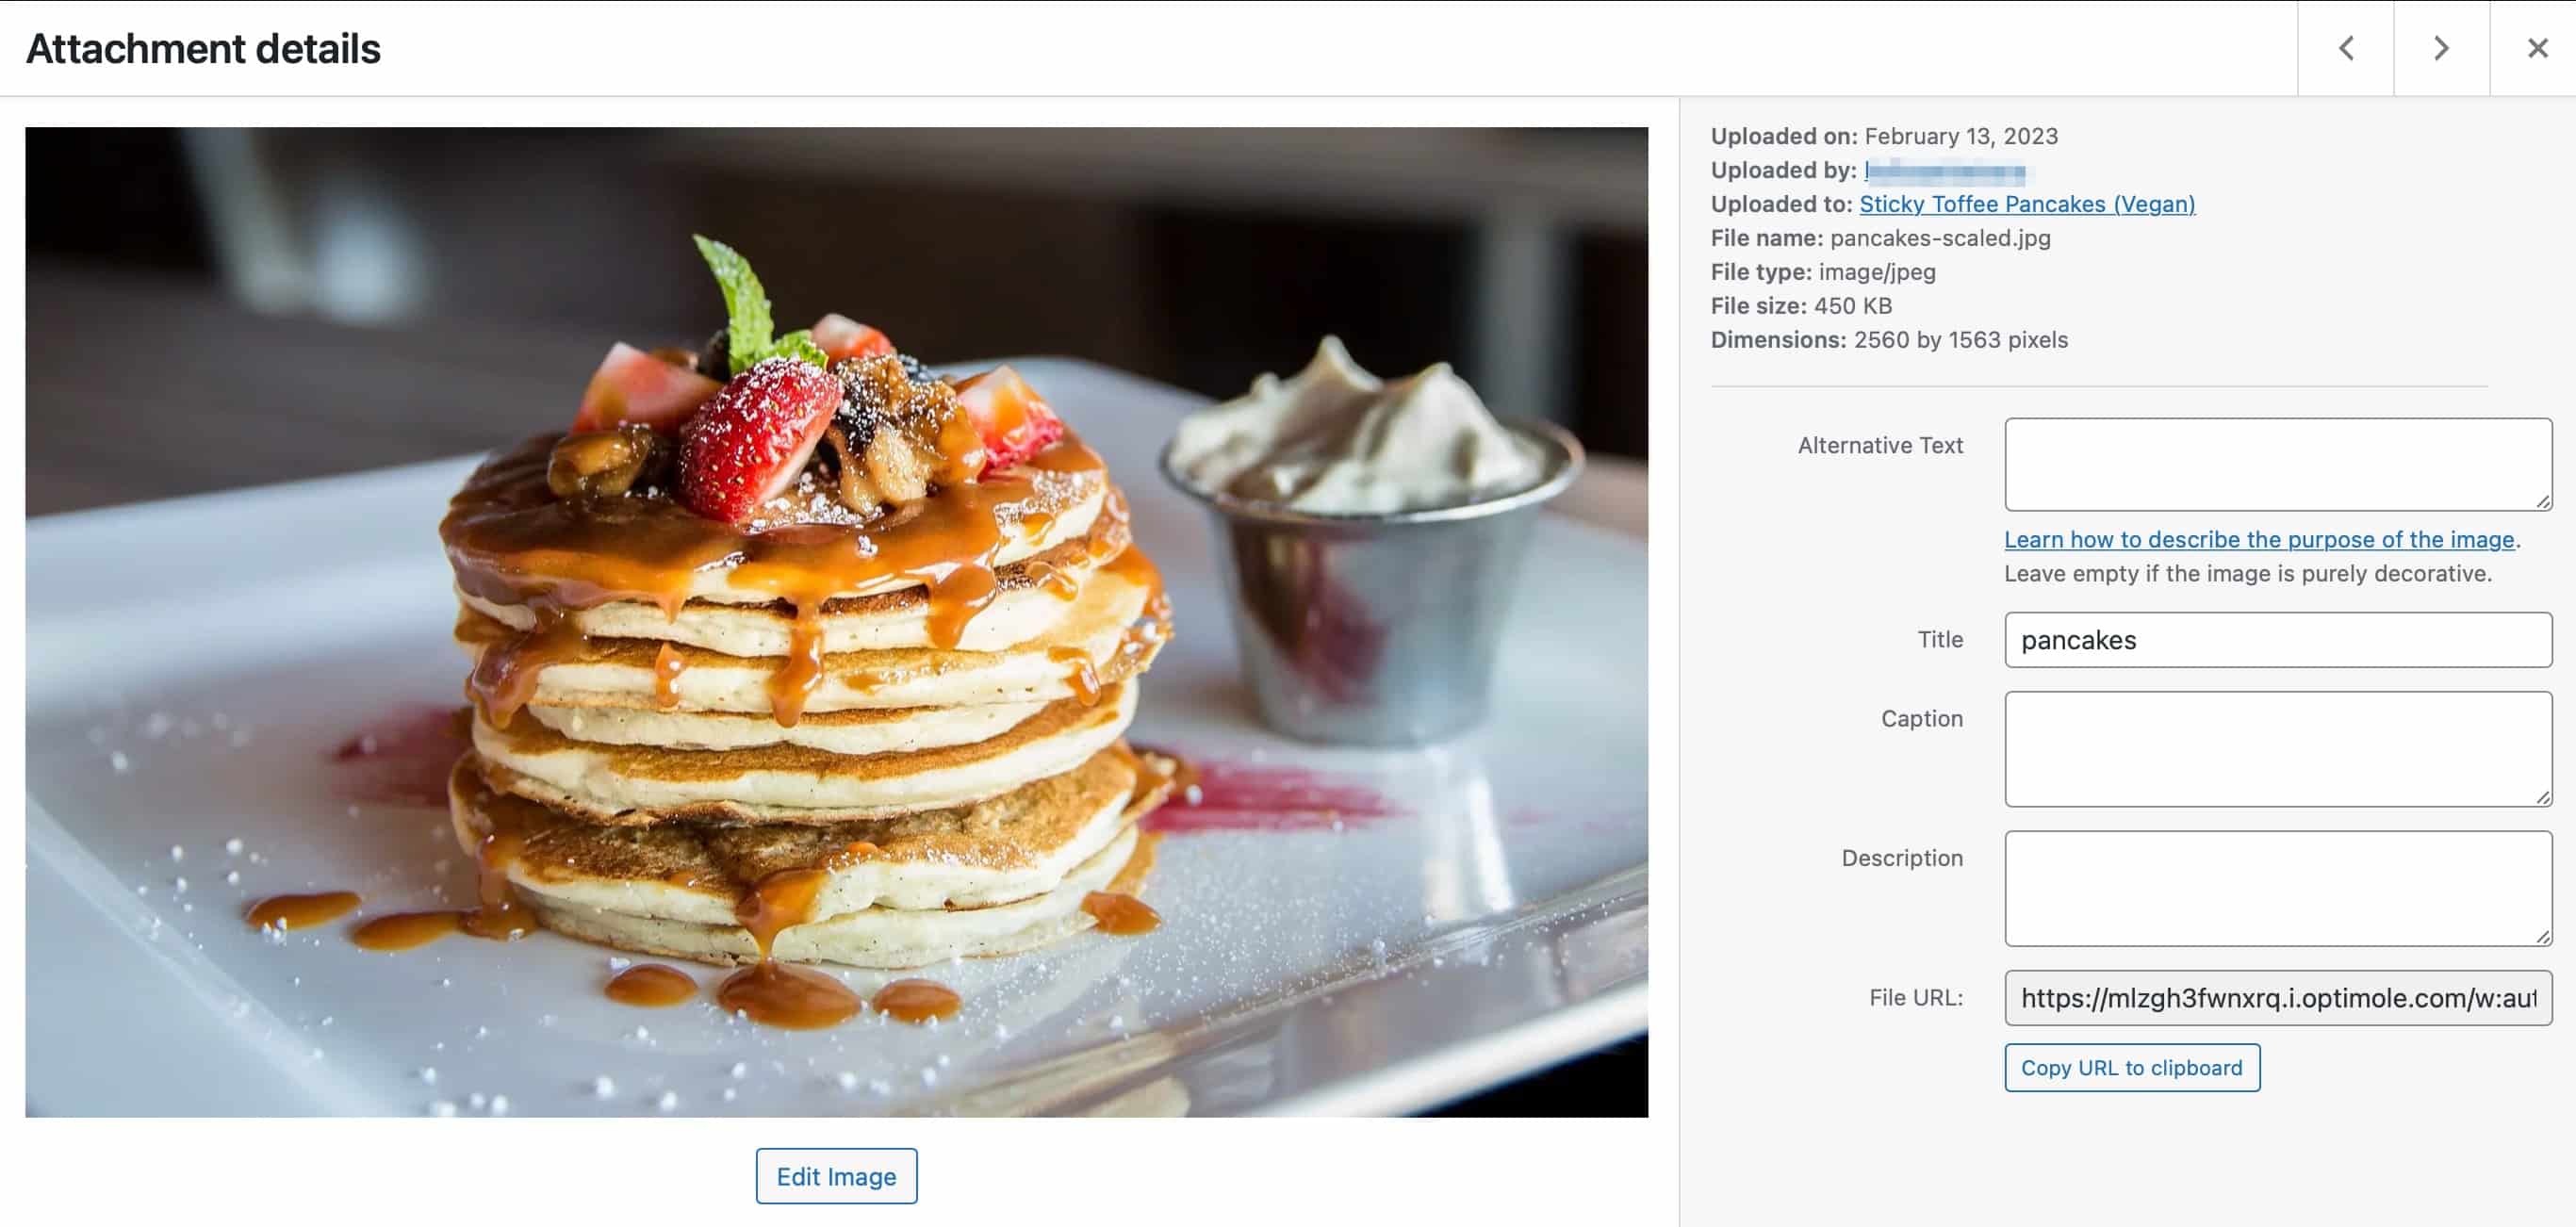
You can also select Edit Image to crop, rotate, or resize your photograph.
If you want to display your images in a gallery, you can install a gallery pluginA plugin is a software component that adds specific features and functionality to your WordPress website. Esse… More such as NextGEN Gallery. This way, you can batch upload images, import meta data, rearrange photos, edit thumbnails, and more.
Step 5: Optimize Your Photography Website
The problem with image-based websites is that media files can be quite large. When you have lots of files on your site, it can drain your server resources and slow down your website. In turn, this can disrupt your UX and harm your search rankings.
Therefore, it’s a good idea to optimize your website for faster performance. There are plenty of ways to do this. For instance, you might install a caching plugin such as LiteSpeed Cache. You can also use an image optimization plugin like Smush to resize, compress, and optimize your photos:

On top of this, you can add a Content Delivery Network (CDN) to your website. A CDN is a network of servers that stores your website’s files, so they can be sent by whichever server is physically closest to each visitor. This is an easy way to reduce latency and improve loading times.
Many quality web hosts offer a CDN as part of their hosting services. If not, you can install a CDN from a provider such as Cloudflare.
Conclusion
The easiest way to spread the word about your photography business is to create a website. That way, you can attract new clients, showcase your assets, and sell your images. Better yet, it’s simple to create a unique site quickly using the WordPress platform.
To recap, here are five steps to create a photography website with WordPress:
- Find a quality web host, such as Bluehost.
- Choose a photography theme like Shutter Up.
- Design your pages using WordPress blocks or page builders.
- Upload your images to the Media Library.
- Optimize your photography website with caching, optimization plugins, and a CDN such as Cloudflare.
Do you have any questions about how to display your images in different file formats? Let us know in the commentsComments are a feature of WordPress that allow users to engage in discussions about the content of a website. … More section below!

